This blog post is dedicated to my wonderful Dad who read the Horatio Hornblower series of books to my brother and I when we were younger.
Thank you.
Dear readers, I feel it is time for your nautical education to be expanded. I’m going to teach you about making rope ladders.
We’re currently in dry-dock, Doulos is out of the water, and so we can do an awful lot of big jobs that we can’t do at other times during the year.
I’m on the lifeboats team this time, and so we’re making a few new ladders for the life rafts, as the old ones are really nasty. I’ve spent 12 hours a day for the last 2 days making this one, and I’ll be at it for another week or so, and I think you might enjoy.
First you will need some 2 mm tarred hemp (a lot), about 45 metres of 22 mm manila rope, about 30 wooden steps with two holes at each end, a hard metal eye/thimble, some plastic spacers, and some tools (heavy duty needle, sail-makers palm, knife, marlin spike, Swedish fid is very nice, and a threading spool. Although you could probably get by with a bit less. You will also need a wooden block with slats cut out for at the right distance for the steps to rest in while you make the ladder.
First soak and stretch the manila rope. We stretched it overnight with a chain block over the top of the book exhibition roof.
Next, once it’s dried, cut it in half, so you get two (roughly) 23 metre lengths.
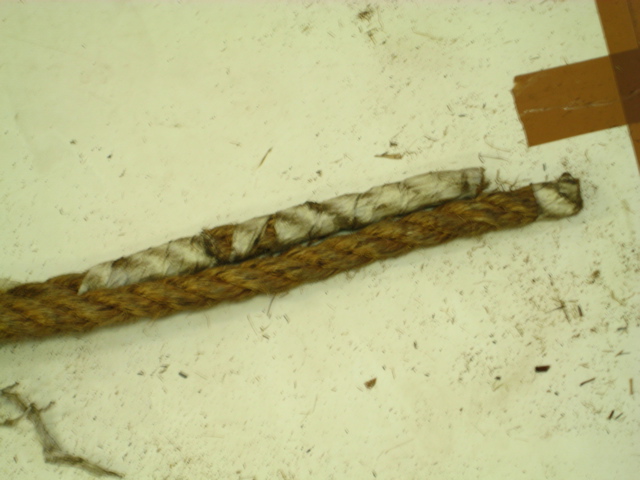
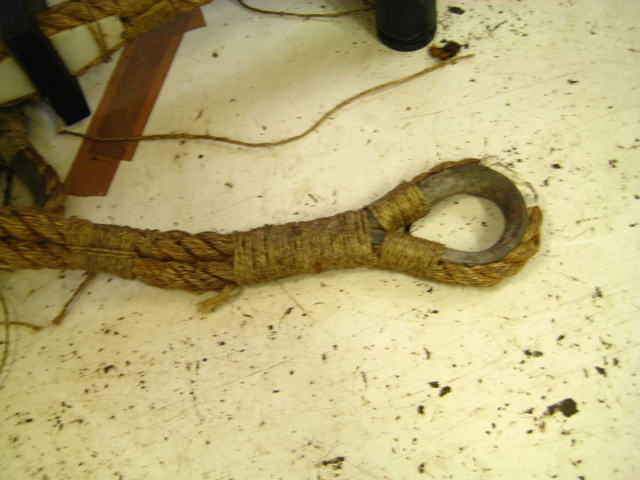
Next divide both in half, and put the thimble in place, and seize it into a hard eye, then add a few extra security whippings.
After you have got these in place on both, you will need to thread the rope into all the steps. They should be quite tight, and it may be horribly difficult.
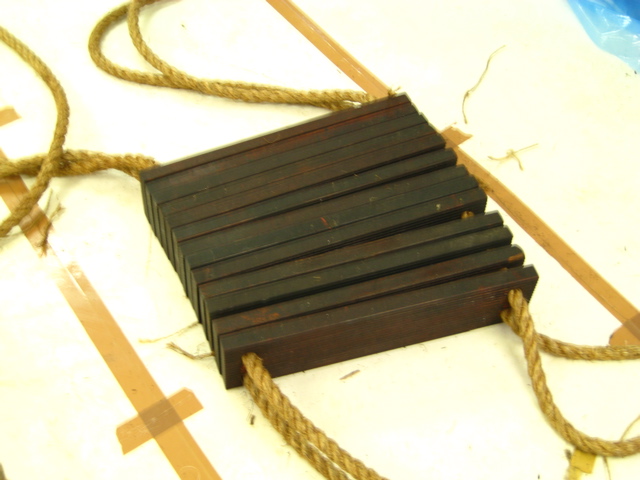
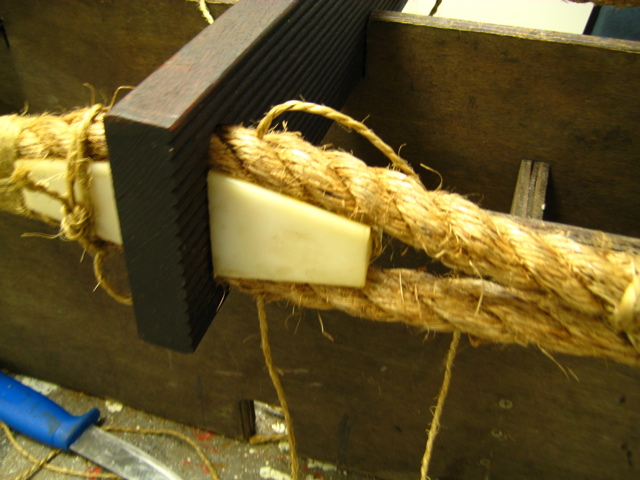
Once they are all on, you can start getting them ready on the ladder block. This block lets the steps sit at the right distance from each other while you seize/whip them into place.

It’s very important to make sure the first step is the right distance from the hard eye, on both.
![]()
If you get it a bit wrong, all the rest of the steps will be wrong too. Don’t.
A small aside… you should use tarred hemp for this kind of thing, as the thread. tarred hemp lasts much longer, and holds together well. We don’t have any right now, and the Chandlers are very late in supplying it, so we have to use regular un-tarred hemp, and wax it ourselves. We’re doing this by running all of it by hand through blocks of wax.
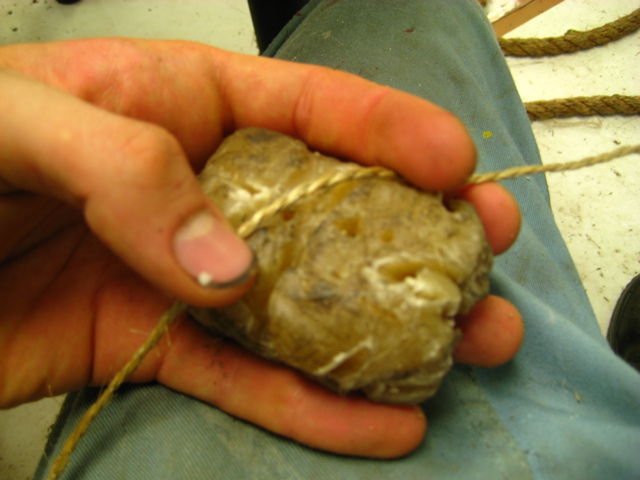
I also am using one of these threading spools to hold the hemp once I’ve waxed it. Saves a bit of time, and makes handling it all a bit easier.

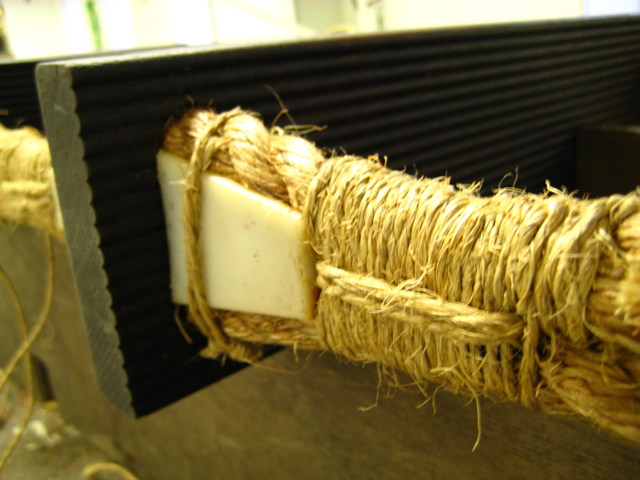
So this is how you attach every step. First, place a (plastic) spacer between the ropes next to the step on both sides.
Then sew a small (40cm) length of hemp through the two ropes, so that it pulls the spacer back towards to the step. Don’t make it too tight yet, leave it for later.
![]()
You can use a sailmakers palm to sew the hemp through the rope, as you need a lot of force when the rope is tight, and you will be doing this a lot. Sailmaker’s palms are wonderful, but even with them you may get a few stabs and minor cuts.
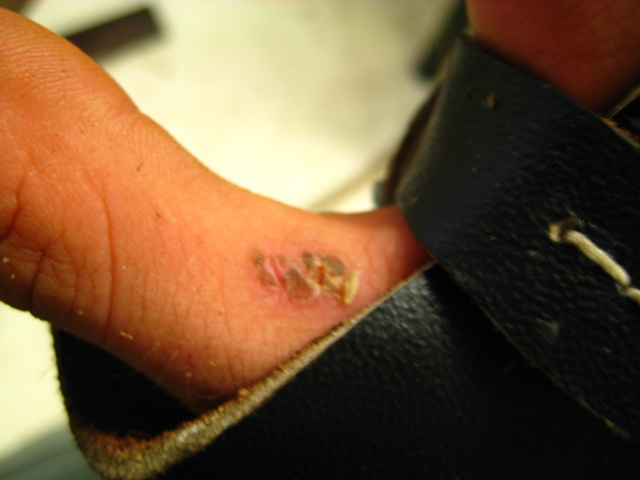
I’ve got blood on the ladder twice so far…

Then sew a 2 metre length of hemp into the top rope, about 5-8cm from the end of the spacer,
and make it fast with a constrictor knot, or another knot of your choice.
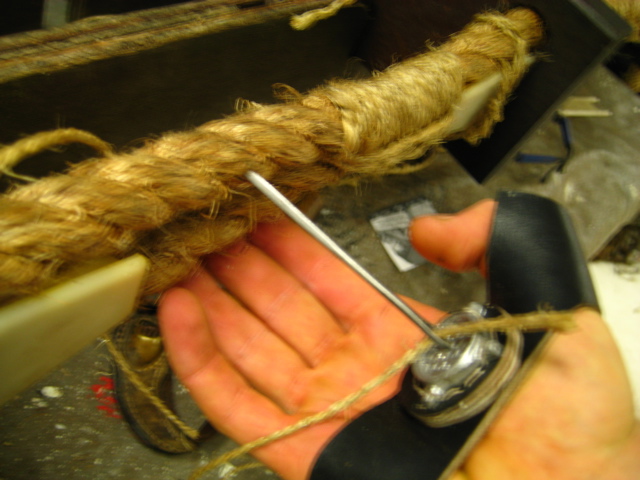
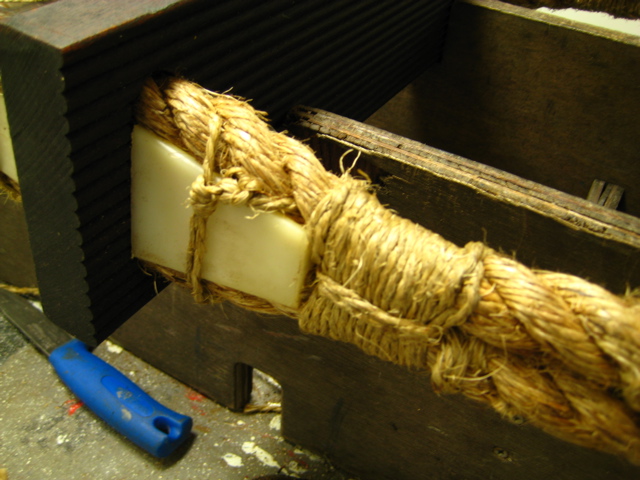
After it’s on start binding the two ropes together with this hemp working towards the spacer. This photo shows me using a marlinespike (& marlin spike hitch) to pull the hemp tight. Marline spikes and their hitches are your best friend. Bind over the top of the free end of the constrictor knot you just made, so it is trapped underneath and cannot come loose.

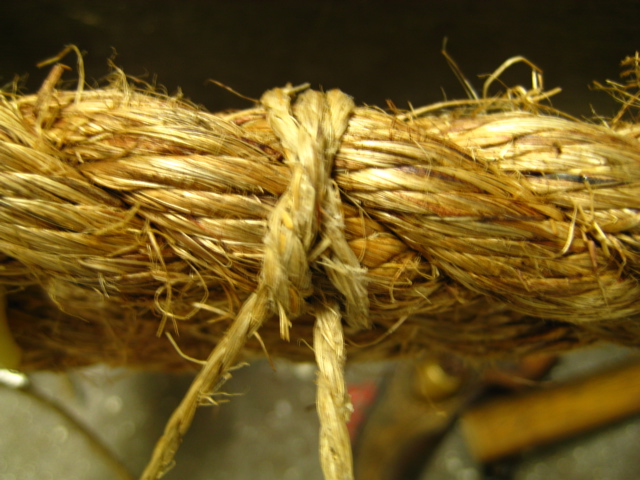
Once it’s at the spacer, make a couple of hitches/clove hitch (or another constrictor knot, if you feel so inclined) around one of the ropes, and then loop around the entirety of it twice or three times, going between the two ropes, pulling the previously made binding together more, and adding strength.
These turns are called “frapping turns”. Once you’ve done a few, make it fast again with a constrictor knot, or clove hitch or something, and then sew it once through the rope, and tie a small overhand knot. Then sew it once more through the rope, and cut it off flush with the rope.
After that’s all done, you can then tie off the first bit of hemp you put in around the spacer. Once it’s tightly bound and made fast, sew the ends through the main rope, make a small overhand knot, and sew through once again.
The way I’m trying to get the team to do it is to leave no free ends of hemp hanging around at all, everything should be ended by sewing through the main rope, preferably twice. Once, then an overhand knot to secure it, and then again to bury the end. It looks so much nicer, and can catch on less and is much less likely to come apart.
Use the valleys in the lay of the manila main ropes to bury the overhand knots too, and then they can less likely to come out either.
Anyway, that’s about it. You go through all of this 4 times for every step, as you put a space in on both sides of the step, and facing topside and bottom. It takes between 10-30 minutes for each one. So about an hour per step, working full speed. And this ladder has 20 odd steps, plus extra time, and teaching the new people how to do it all, and so on.
You never realise how complex rope ladders are until you make one.